Thursday, March 29, 2012

MOOORRRREEEE Photos!!!

Gday All!!!

I apologize for the delay since our last post. Both Paul and I have been focused on other projects including 5" track expansion and spending a lot of the summertime cruising in the Monaro!!
Paul is still enthused as ever to see this project completed however such delays can be expected when you have a thousand interests!!! :-)

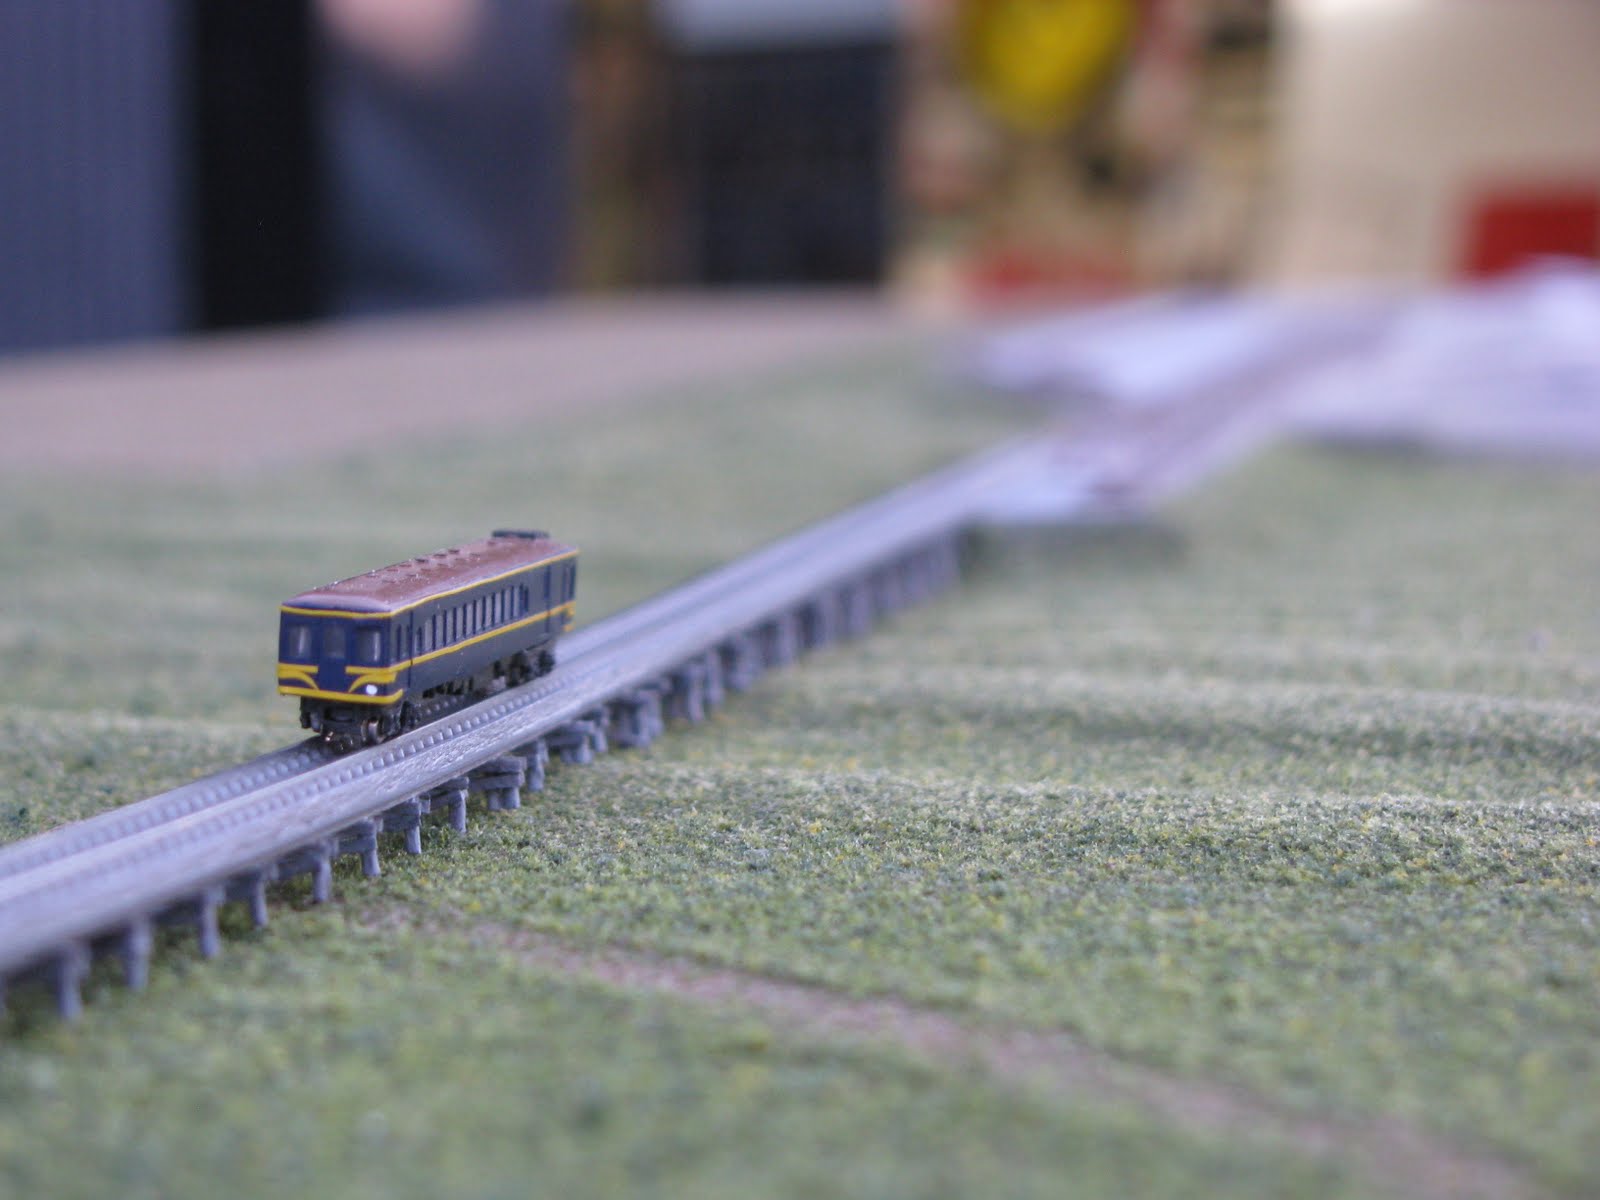
Alright...... to kick things off we start with a photo of Paul with his much loved layout as it is today. This view captures the layout as a whole and demonstrates the vast landscapes that can be modeled in T gauge. Over the coming years this layout will continue to progress towards 'Bairnsdale', with modules capturing key locations of the line. From this photo the line will progress along the tree line. Stay tuned for this progress.
Layouts of 40thou styrene were used to raise the surface to rail height to represent the bitumen and sandstone that was used in the yard. Two pieces of 40 thou styrene were also used to fabricate the patform as you see here. This area of the layout still requires much attention as it is the most densely detailed area of the layout.
What can I say.......... Paul has an illness!! Your eyes do not deceive you. Paul has used very fine copper wire to represent the telegraph pole line. This is currently replaced with a more elastic material that will not distort and will stay tight. These lines closely resemble human hair when viewed with the naked eye. The paddock fences are strung with a nylon thread pulled from a stocking. Superglue was used at one end, the line was then tightened and glue was progressively added to the tip of each post, securing the nylon in place. Repeating this process enabled the second line to be installed. This is only a small trial section, with many more fences to go. This method was a success and to the naked eye, resembles a web from a spider!!!
Check this out!!! The 'famous' Grandview photo!!! Compare this with the photo from the older post.

Another view of the swamp. This time with a clear shot of the DERM as it makes its way up the grade on the return trip to Bairnsdale.

Looking up the 'old' highway to where the third bridge was located. The roads are yet to be constructed and installed. This will be the next bridge that Paul will construct. Hurry Up Paul!!!!!!!!!

A photo showing clearly where the bridge will be located. The swamp is behind the landfill to the right. The telegraph line will be at the base of the hill and the foreground will be littered with fence lines.

The view of an Orbost train crossing the (to be constructed) bridge, HURRY UP PAAAUUUULLL!!!! This bridge will be very closely modeled after the 770 metre prototype.

A view of the same train from the old highway........... a bridge would be nice PAUL!!!!

This sadly concludes tonights update. For those living in Victoria, we are attending the model railway exhibition in Stawell this July. I will post further details at a later date.
Although the layout wont be functioning, Paul intends to have much more goodies added by this time.
Last time......HURRY UP PAUL!!!!!! I, like you all are eager to see what other mini masterpieces you can create.
Till then,

Take care and HAPPY MODELLING!!

Adrian and Paul.

Thursday, November 3, 2011

Swamp-erific!!

Gday all!!
Here is the last of our posts for today. This swamp has developed into its own feature deserving of its own post.
This area located on the third module and just off the old highway as it passes under the rail over road bridge. This area has not changed much in the 30 years since 1981.
The swamp was created using 6mm static grass, through a grass applicator that applies static charge to enable the fibres to fall vertically into a water/PVA mix. Adding detail to the swamp is the use of pre-fabricated grass tussocks in the form of small adhesive patches. Ill post more information on these at a later date as they are a great and useful product.

The trees on the hill use the same technique as described in the previous post. Woodland Scenics Confer Green matt was cut up into 7mm squares and teased into fluffy shaped pieces and glued onto the wire tree armature with a small amount of Selleys Quick Grip.

Not bad eh!! Who would have thought the train was supposed to be the feature of this photo!!

Another angle. I cant take my eyes off this area!! It looks soooooo real!!!


To prove it I took a photo of the ACTUAL swamp during my recent trip. The colour of the reeds slighty differ when the season changes.


This finalises this group of three posts. Hope you enjoyed the progress. If you have any questions feel free to contact me on zomer_1@hotmail.com.

Take care and happy modelling.

Adrian and Paul.

Introducing GRANDVIEW.

Gday All.


No these arent photos from the recent trip to Orbost. These are indeed the CrAzY photos of Pauls progress showing he, like Chuck Norris, doesnt sleep!!


Words nor photos can display the amount of time and effort that has gone into this piece of foam to recreate an era long gone. Paul tells me that there is much more detail to go into this scene such as telegraph poles, bitumen road, power poles, fenceposts, houses and of course the rail over old highway trestle bridge.


Elevated view from the 'new' highway bridge showing T325 rounding the curve (soon to be the large trestle bridge of 157 trestle piers). Again much more work is required to recreate the scene as per Weston Langfords photo on the day Paul is modelling (http://www.westonlangford.com/images/photo/114614/).


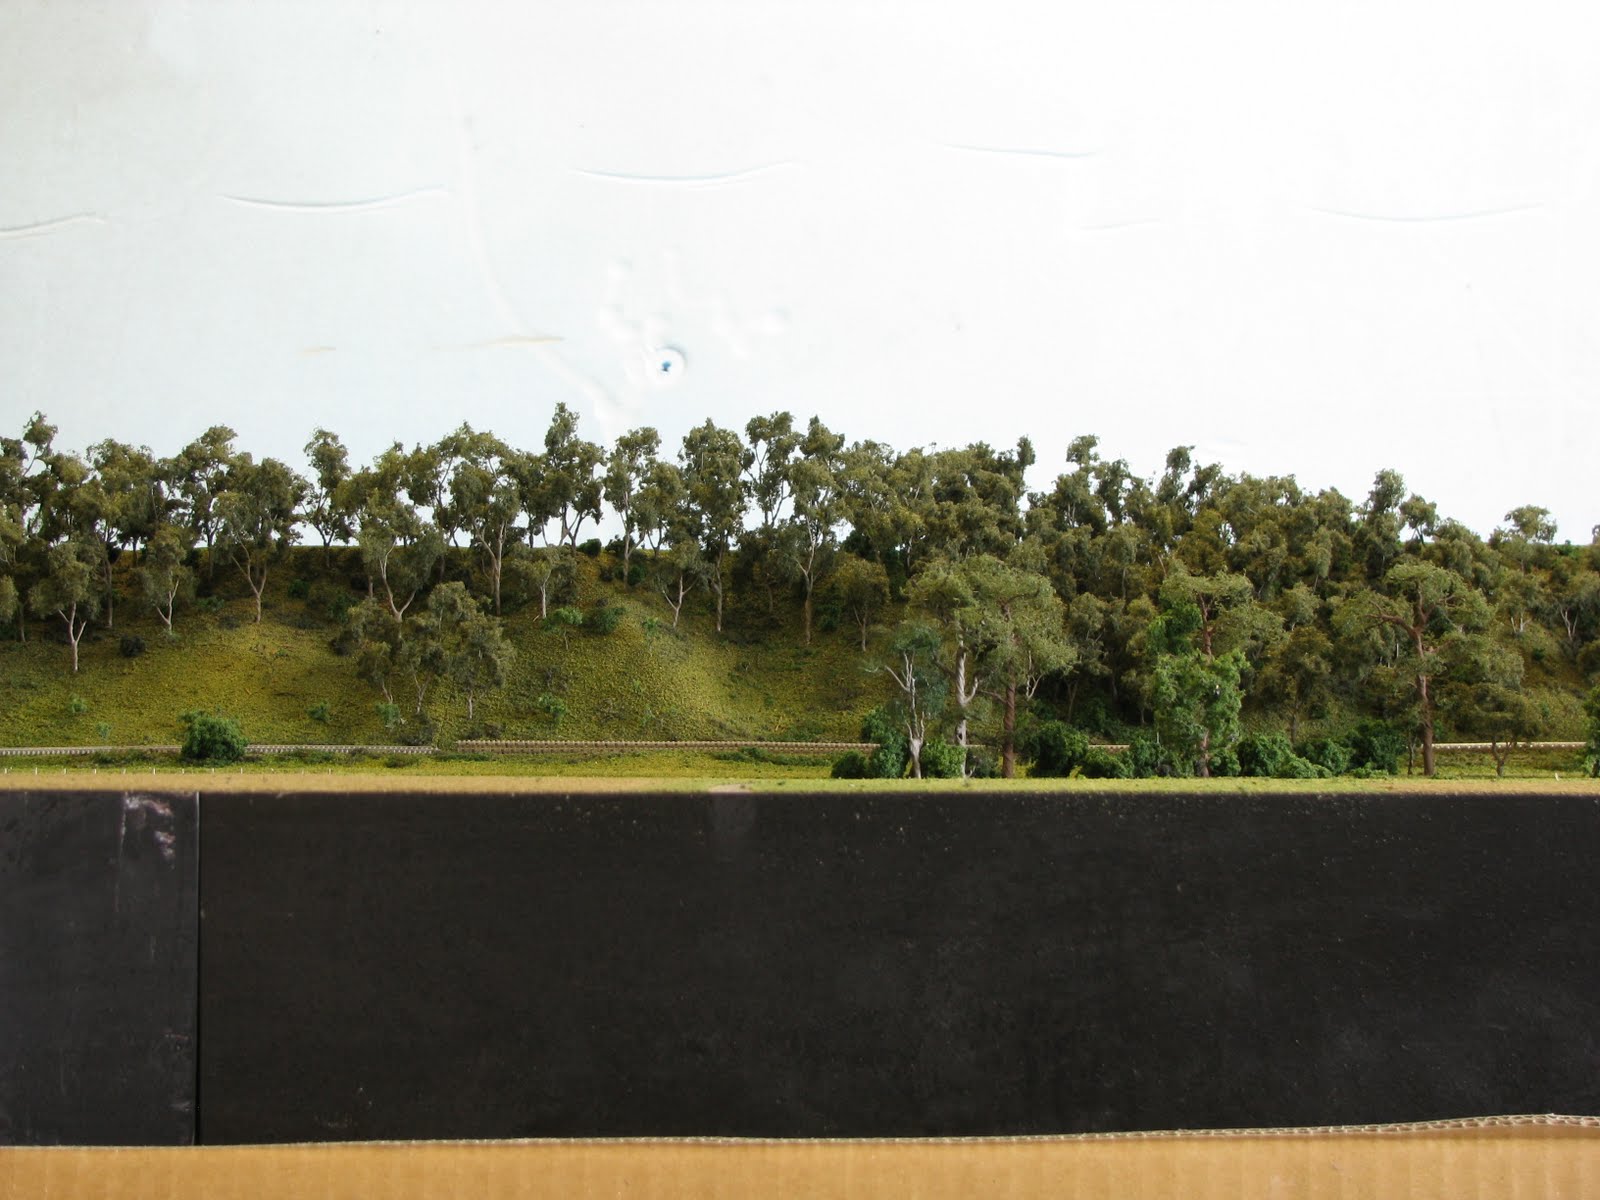
Overall photo of the second and third modules. Each tree is handmade or heavily altered wire foliage branches. Many hours have been spent creating the trees alone.


Land perspective view of the hill. Many photos were referenced to ensure the size placement of the trees replicated the original location as at October 1981. Currently the lower half of this hill is extremely dense. Nature is engulfing and rapidly rotting the bridge.


View along the old highway towards the hill.


With the treeline now completed, this takes us one step closer to recreating the sensation of being in a place of great scenery and amazing feats of railway engineering. This also represents a time when the thunder of steams trains still echoed through this valley.


A lot has been completed but a lot remains. We hope you stay tuned.


Take care and happy modelling


Adrian and Paul

A visit to Orbost

Gday all!!

Sorry its been a while since our last update. To make up for our absence here are a couple of posts to keep your eyes truely appealed.

Last Sunday I made the trip to Orbost to take photos of the location and explore parts of the area I didnt know existed.

The following photo was taken from the old highway crossing looking towards Bairnsdale. This photo shows the longer trestle bridge and the 'new' highway bridge.

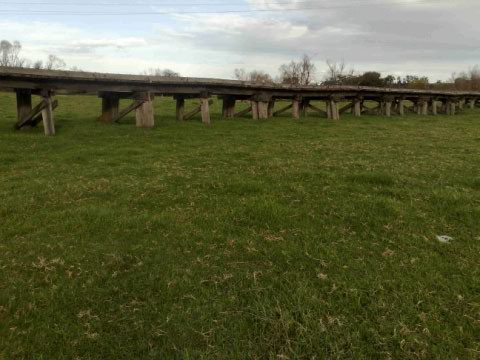
This photo shows the remains of the rail over old highway bridge. This will be modelled on the third module as it was in 1981. Originally it consisted of more spans however was later filled leaving ony a few trestles exposed.

View along the old highway. These two large trees have been a local landmark and feature in many photos and videos taken of this area.

View of the short trestle bridge (completed on the layout). The station was located just beyond this bridge. Virtually nothing remains now. :-(

The iconic view from Grandview lookout. Many photos have been taken from this location in the almost 100 years since the opening of this bridge. Not much has changed in this view apart from the lack of rails and differing paddock arrangements.


Hope you enjoyed looking at these photos as much as I enjoyed taking them.

Take care and Happy Modelling


Adrian

Tuesday, August 23, 2011

MONSTER Progress!!!

Not much to say with the latest set of photos. We'll let the pictures do the talking. ENJOY!!


The crossing signs and telegraph pole line were constructed from scrap rail and brass shim soldered together. Pretty amazing ey??!!


This is a good shot displaying the fenceposts as they were in 1981. They are 0.4mm thick, 2mm high and spaced 10mm apart. This is about a quarter of the layouts fencing installed so far.


Two of Pauls amazing hobbies meet. Orbost and his CRAZY 1976 LE Monaro (le-monaro.blogspot.com).

Now the 5" L class project has come to an end, there is now even MORE time to power into Orbost!!! Another update with more progress in a couple of weeks.


Take care and Happy Modelling!!

Adrian

Thursday, July 28, 2011

Finally TRESTLE BRIDGE TIME!!!!!

Gday All!!
Work has begun on the star of the layout, well the shorter one at least. Paul has built the bridge surprisingly quick, over just 3 evenings after work!
He used 0.9mm tee tree for the uprights and north-eastern hobby timber, that he then had to cut even thinner again, for the cross sections. The shallow end, near the road crossing, is shortest on the layout at 3mm high.
Progressing to 3.5, 4, 4.5, 5 & 5.5mm at the deepest end. Every trestle bent variation is in order and as per the real bridge, being modelled strictly of photos. The majority of the large bridge is 5.5mm to 7mm deep. There is 38 piers in this bridge and 157 in the large bridge!!!!

Firstly here are two photos of the actual location. These photos assisted in the construction of the piers.


A close up photo showing the huge amount of detail put into such a small structure.


Here is a photo of the bridge prior to attaching it permenantly to the layout.


Paul has also been working on the hill overlooking the Snowy River valley. This is the first of many steps involved in creating this area.


Overview of the progress on the first two modules. AMAZING!!! You can also see Paul has commenced work on the road bridge. This structure will be deserving of its own post so ill explain it in detail then.


At this rate Paul will have the main bridge completed in a matter of weeks!!!


Stay tuned as im sure ill be posting again VERY SOOOON!!!!!


Take care and Happy Modelling!!


Adrian

Sunday, July 17, 2011

And now we have COLOUR!!!

Gday all,
We would first like to welcome and thank our new blog followers. We appreciate all the kind remarks from the Morwell Model Railway exhibition and various forum.
Progress on the layout has been delayed slightly due to Paul working on a VR 5" L class locomotive (pictures of this will soon appear on the 5" blog).
We assure you that Orbost is still underway. The following pictures are evidence of this.


This photo demonstrates the effort Paul has put into this area. The undulation of the land is more defined and the colours and textures of the ground layer are spot on!!


Looking towards the train as it moves along the land fill in between the two bridges. The road still needs surfacing and shrubs and trees added.

This photo shows the third module. GPS and visits to the area were used to model this hill as accurate as possible. The closer hill is almost ready for ground surfacing to match the second module. New information has recently been obtained showing an error in the hill in the background. This hill will be replaced with the correct one.

Overall shot showing the colouring of the two modules. Very fine coloured foam was used in conjuction with half water half PVA glue. to create this layer.

This photo shows the detail put into the plowed field. A comb was used while wet and again while dry. The fence posts are AMAZING!!! Paul has measured fence opst in the area and these are to scale. 2mm high, 0.4mm thick and 10mm apart..........WOW!!!

I hope you enjoyed the introduction of colour to this rapidly developing layout.

Adrian